3D Inspection

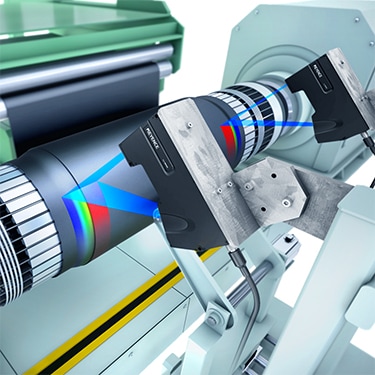
By working from a 3D image, a multitude of inspections and measurements become possible including volume, warpage, and tilt. A target's size, material, and how it will be presented play key roles in determining the best solution. Below are a few of the options available, and you can request a free consultation with 3D measurement expert if you have any questions.
2D Profilers can measure width, height, and volume of sealant beads inline, regardless of surface finish or colour.
2D/3D Laser Profiler
LJ-X8000 series


Detect burrs arising on terminals after electrode slitting. With ultra-high-resolution 3200 points/profile measurement, the LJ-X8000 Series produces stable detection even for minute burrs.
2D/3D Laser Profiler
LJ-X8000 series


Profile measurement can be continuously performed on captured 3D shapes. This allows pass/fail criteria to be applied to maximum and minimum values over an area or period of time, making it possible to catch small defects in continuous processes.
2D/3D Laser Profiler
LJ-X8000 series


Defect inspections are possible by extracting changes in height from free-form curved surface information.Stable detection is possible even with complex curved shapes.
2D/3D Laser Profiler
LJ-X8000 series


Highly accurate measurements can be made even when measuring targets with height differences or where the distance from the target to the camera could vary.
2D/3D Laser Profiler
LJ-X8000 series


Detect chipping or dents in laser welded beads using 3D laser profilers. The measurement is unaffected by colour or gloss of the weld, making inspection results stable through glare or bead shape variation.
2D/3D Laser Profiler
LJ-X8000 series


Targets with multiple materials can be captured in a single profile, allowing measurements to be made between glass and metal surfaces. The LJ-X8000 series is equipped to handle reflectances ten times higher than conventional products.
2D/3D Laser Profiler
LJ-X8000 series


Targets with multiple materials can be captured in a single profile, allowing measurements to be made between glass and metal surfaces. The LJ-X8000 series is equipped to handle reflectances ten times higher than conventional products.
2D/3D Laser Profiler
LJ-X8000 series


For targets with different diameters, conventional vision systems often have a hard time focusing on the larger and smaller diameter areas at the same time. Measuring the height of the dents with a laser profiler makes it possible to inspect the whole surface at once.
2D/3D Laser Profiler
LJ-X8000 series


3D inspection allows users to accurately detect whether components are properly seated in the assembly or if elements are tilted. Using a KEYENCE 2D/3D laser profiler with a blue laser ensures stable measurement, even for targets with varying materials.
2D/3D Laser Profiler
LJ-X8000 series


A displacement sensor with an extremely small beam spot of just 3.5 µm can be used for accurate profile measurements of roughness and subtle shapes. 3D shape measurements are also possible through detailed scanning synchronized with the X-Y stage. Measurements with impressive angle characteristics are possible not only for opaque targets but also transparent targets and 3D shapes with mirrored surfaces.
Confocal Displacement Sensor
CL-3000 series


The laser profiler's wide field of view makes it possible to inspect multiple targets traveling on a conveyor belt together. 3D position correction can be used to identify and inspect each cookie within the measurement range, enabling accurate sorting to improve quality and eliminate waste.
2D/3D Laser Profiler
LJ-X8000 series


